After a week of wheeling and dealing (this has lead to the purchasing of more models and now my "to do" list has increased!) I was able sit down and do some painting, which felt good!
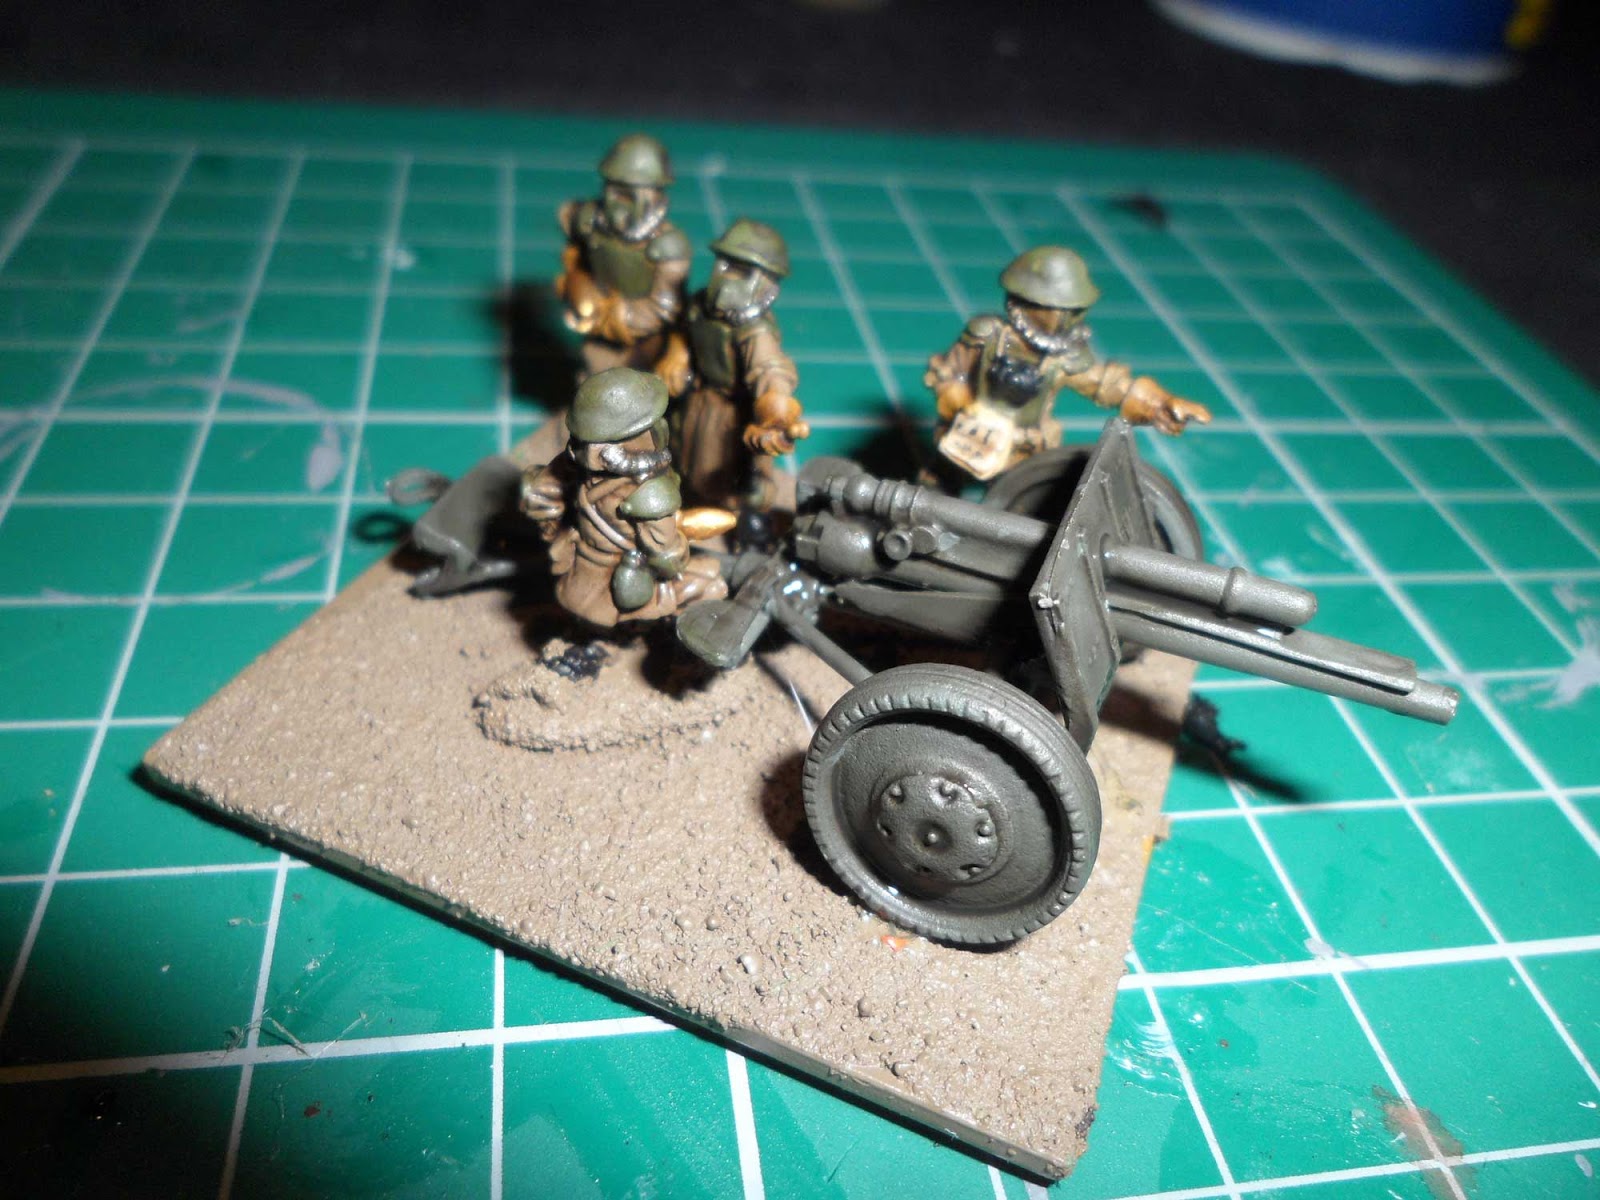
I decided to paint the BEF field guns I built the other week. Now I already have some BEF infantry so I knew which colour scheme I would follow.
What I didn't mention in my post about building the BEF field guns is that I didn't glue the guns down to the base and I positioned the crew so I could remove the guns. This way the crew and guns could be undercoated separately.
With the guns removed I coated the base with PVA glue and dipped them in sand. Once dried I sprayed the crew and base with Warlord Bolt Action spray primer: British Uniform Brown; this covers the crew uniform as well a nice muddy base.
I then, and in a separate location, sprayed the field guns with Halfords camouflage spray paint green. I like this paint as it's cheap and I feel that it works well for military equipment.

With the undercoat dried I started with the boots painting them in Abaddon black, as I was painting I noticed that some of the boots got covered with sand during the basing and as I went to remove it I realised it actually looked quite good. It looked as though they were standing in a quagmire so I just painted bit of the boots that were showing.
I then painted all the armour and helmets with Cayman Green. followed by the belts and webbing in khaki, Then I painted the gas mask ventilation tubes in gunmetal metal and the artillery shells in glorious gold. Followed by painting the gloves in Leather Brown.
Next I concentrated on the commander painting his binoculars negro black, now I used this black instead of Abaddon Black because Negro Black is more glossy so I thought it would make the binoculars stand out more. I then painted the pages of his book Plague brown, followed by a light coat of Bonewhite. Once dry I did small scribbles of black to represent writing. Next was the straps of the binoculars which I did in leather brown.
Once the basics had been applied everywhere I touched up any areas that need it with the relevant colour, including the guns.
 |
| Before applying AP strong tone |
Once all the paint was dry and I was happy with it I then applied magic in a bottle, otherwise known as Army Painter: Strong Tone. I get a good amount on the brush and apply it quite thickly all over. This was applied to both the crew and gun.
 |
| After applying AP strong tone |
When the AP strong tone dried I applied Matt varnish, now this starts white so can be a little frightening to apply to your newly painted miniature but it dries clear so there's nothing to worry about.
Finally I dabbed glue on the gun and glued it into position.

All in all, these took me two hours (not including the undercoating) to paint. Not bad going and I'm very pleased with the results. Granted not pro-painted but certainly to a good satisfactory condition.
To Summarise - (Paints are Vallejo game colour range unless otherwise listed)
Boots
Abaddon black - GW
Helmets, Armour plating, Canteen, Field gun touch ups
Cayman green - 72.067
Belts and webbing
Khaki - 72.061
Gas mask ventilation tubes
Gunmetal metal - 72.054
Artillery Shells
Glorious gold -.72.056
Gloves and binocular strap
Leather brown - 72.04
Binoculars, writing in the book
Negro black - 72.051
Book pages
Plague brown - 72.039
then once dry a light coat of Bonewhite - 72.034
Clothing - touch up
British Battle Dress - FoW paint set
Varnish with Matt Varnish - 70.520
No comments:
Post a Comment